How to Prep a Deck for Staining — 7 Steps That Make the Difference
Stain that peels in 6 months is usually a prep problem, not a product problem. Here's the 7-step prep sequence pros use to get 3-5 years out of a single stain.
How to Prep a Deck for Staining — 7 Steps That Make the Difference
You spent hours staining your deck last year. Six months later it's peeling, flaking, and looks worse than before. Not the stain's fault — it's a prep problem.
Properly prepared wood accepts stain evenly, penetrates deeply, and lasts 3–5 years. Poorly prepared wood rejects stain, causes peeling, and looks terrible within a season. Here's the professional prep sequence we use before every stain job.
The 7-step prep
Step 1: Clear the deck
Remove everything. Furniture, planters, rugs, umbrellas, decorative items. Sweep thoroughly. Inspect for:
- Loose boards — retighten or replace
- Protruding fasteners — countersink
- Soft or rotting spots — replace affected boards (don't stain over rot; it'll show)
- Split ends — trim and sand smooth
Structural issues get fixed before any cleaning. Stain doesn't hide damage — it highlights it.
Step 2: Protect surrounding vegetation
Oxygen bleach and cleaning solutions at working dilution are generally plant-safe, but concentrated forms are not. Precaution:
- Pre-wet grass, shrubs, and flowers within 10 feet of the deck
- Tarp delicate specimens (hydrangeas, roses, any container plants)
- Keep pets inside during cleaning
- Have a garden hose ready for post-work rinse of anything that gets splashed
Step 3: Apply oxygen-based brightener
Use oxygen bleach (sodium percarbonate), NOT chlorine bleach.
Chlorine bleach destroys wood fibres. Oxygen bleach lifts dirt, algae, mildew, and old finish without damaging the lignin. Products include:
- Sodium percarbonate (crystalline, mix yourself)
- Commercial wood cleaners (Behr, Thompson's, or dedicated deck cleaners)
- DIY recipe: 1 cup sodium percarbonate in 1 gallon warm water
Apply with pump sprayer. Work in 10-foot sections. Let dwell 15 minutes — don't let it dry out. Re-apply if needed.
Step 4: Scrub stubborn areas
Work each section with a stiff synthetic-bristle brush. Never use a wire brush — it leaves metal fragments embedded in wood that rust.
Focus on:
- Dark grayed areas (sun/UV weathering)
- Black tannin stains (leaf-fall stains)
- Places where old stain is stubborn
- Joints between boards (where debris accumulates)
Brush with the wood grain, not across.
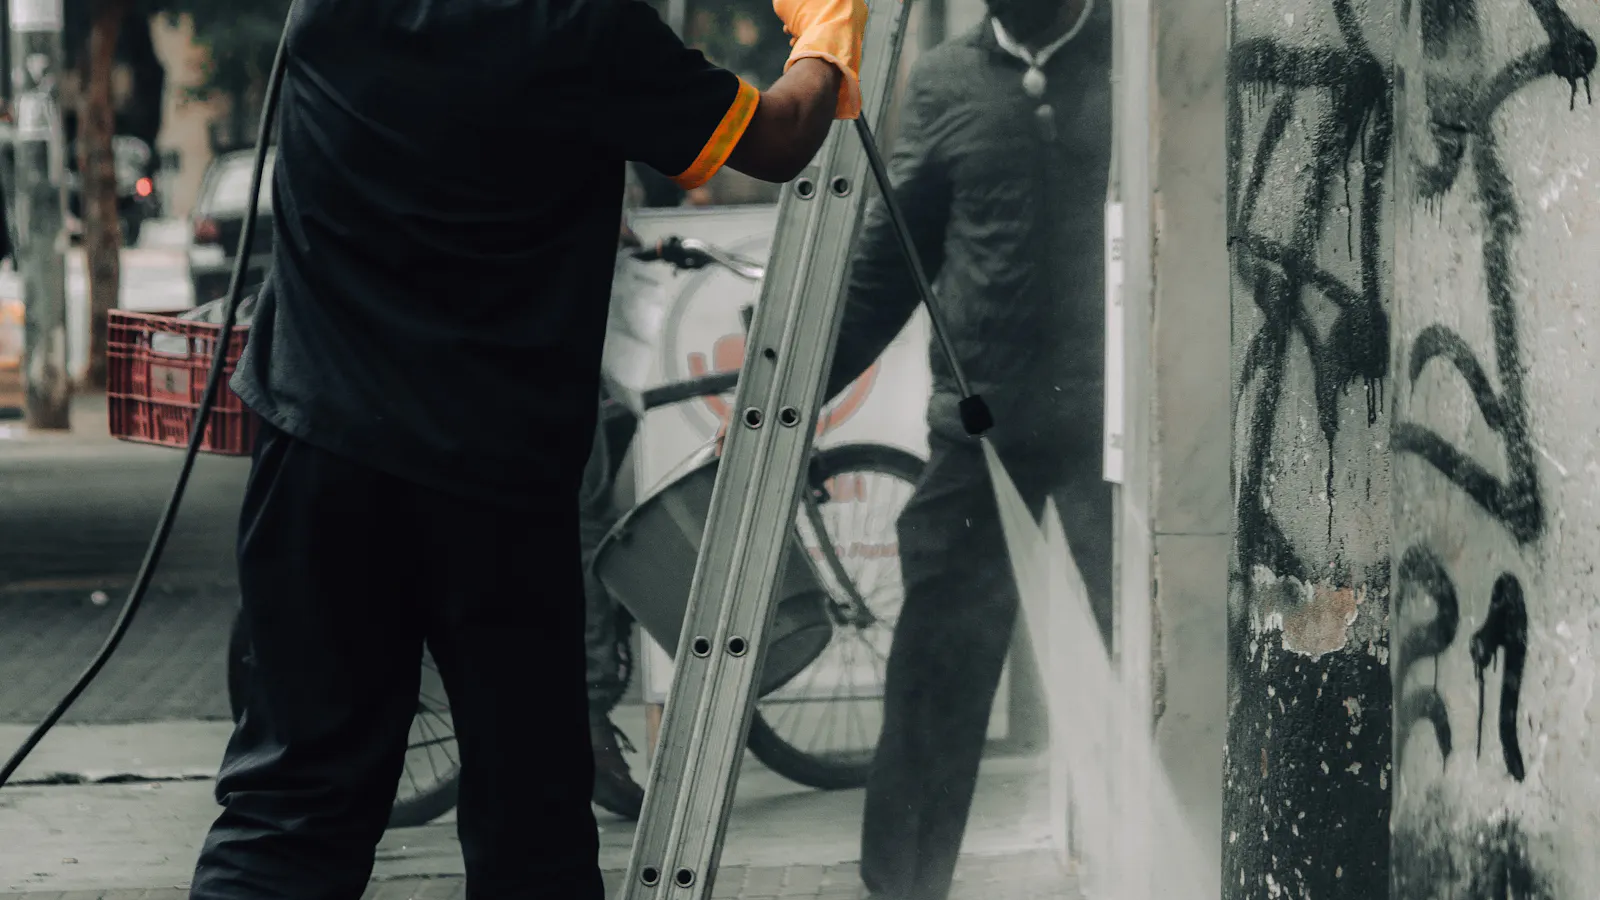
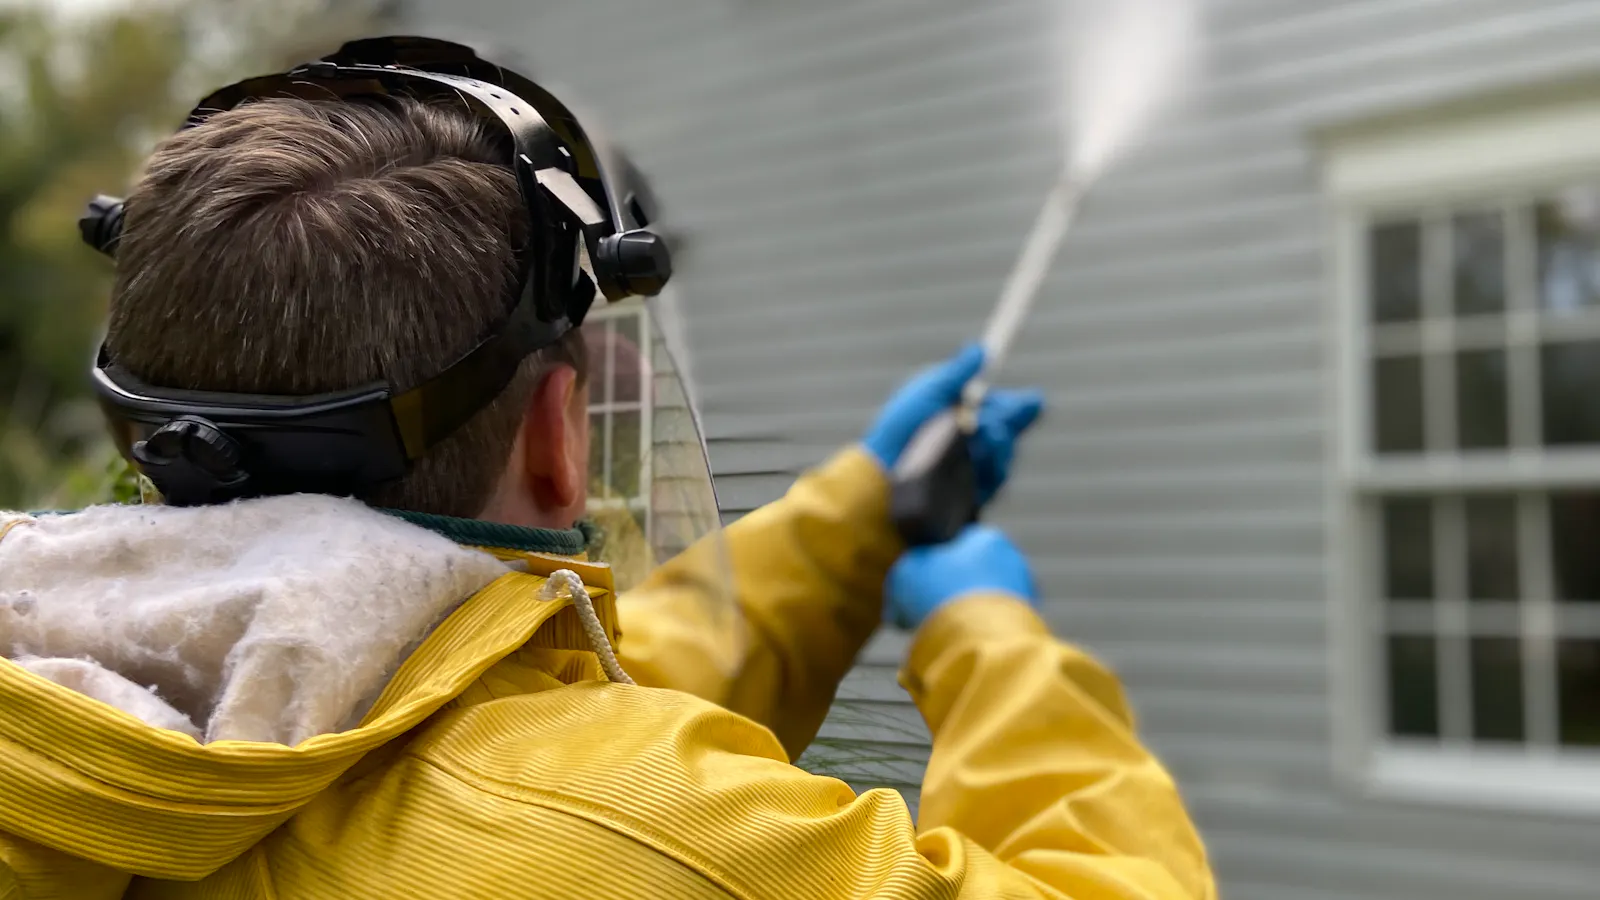
Step 5: Pressure wash at the right PSI
This is where most DIYers ruin their decks.
Pressure washing is essential for removing old finish and surface weathering, but the pressure must match the wood:
- Pressure-treated wood: 1200 PSI maximum
- Cedar: 800 PSI maximum
- Redwood: 800 PSI maximum
- Composite: check manufacturer (typically 1500 PSI max)
Use a 40° fan tip (never a narrow nozzle on wood). Keep the wand 12 inches from the surface. Move with the grain, not across.
High pressure at close range roughs up wood fibres (called "furring"). Furred wood takes stain unevenly and looks blotchy. Once furred, you need to sand before staining — adds hours and sandpaper cost.
Step 6: Apply wood brightener (especially cedar)
After pressure washing, the wood often looks dull grey or muddy. That's because the wash opened the pores AND because UV-damaged lignin has oxidized.
Wood brightener (oxalic acid-based) neutralizes the lignin damage and restores wood color. Products include:
- Behr Premium No. 65 Wood Cleaner/Brightener
- DeckWise (for softwoods)
- Restore-A-Deck two-part cleaner/brightener
- DIY: 1 cup oxalic acid crystals (Bar Keepers Friend powder) per gallon water
Apply to clean, wet wood. Let dwell 10 minutes. Rinse thoroughly.
Skip this step and cedar will stain unevenly, with dark patches in the grain.
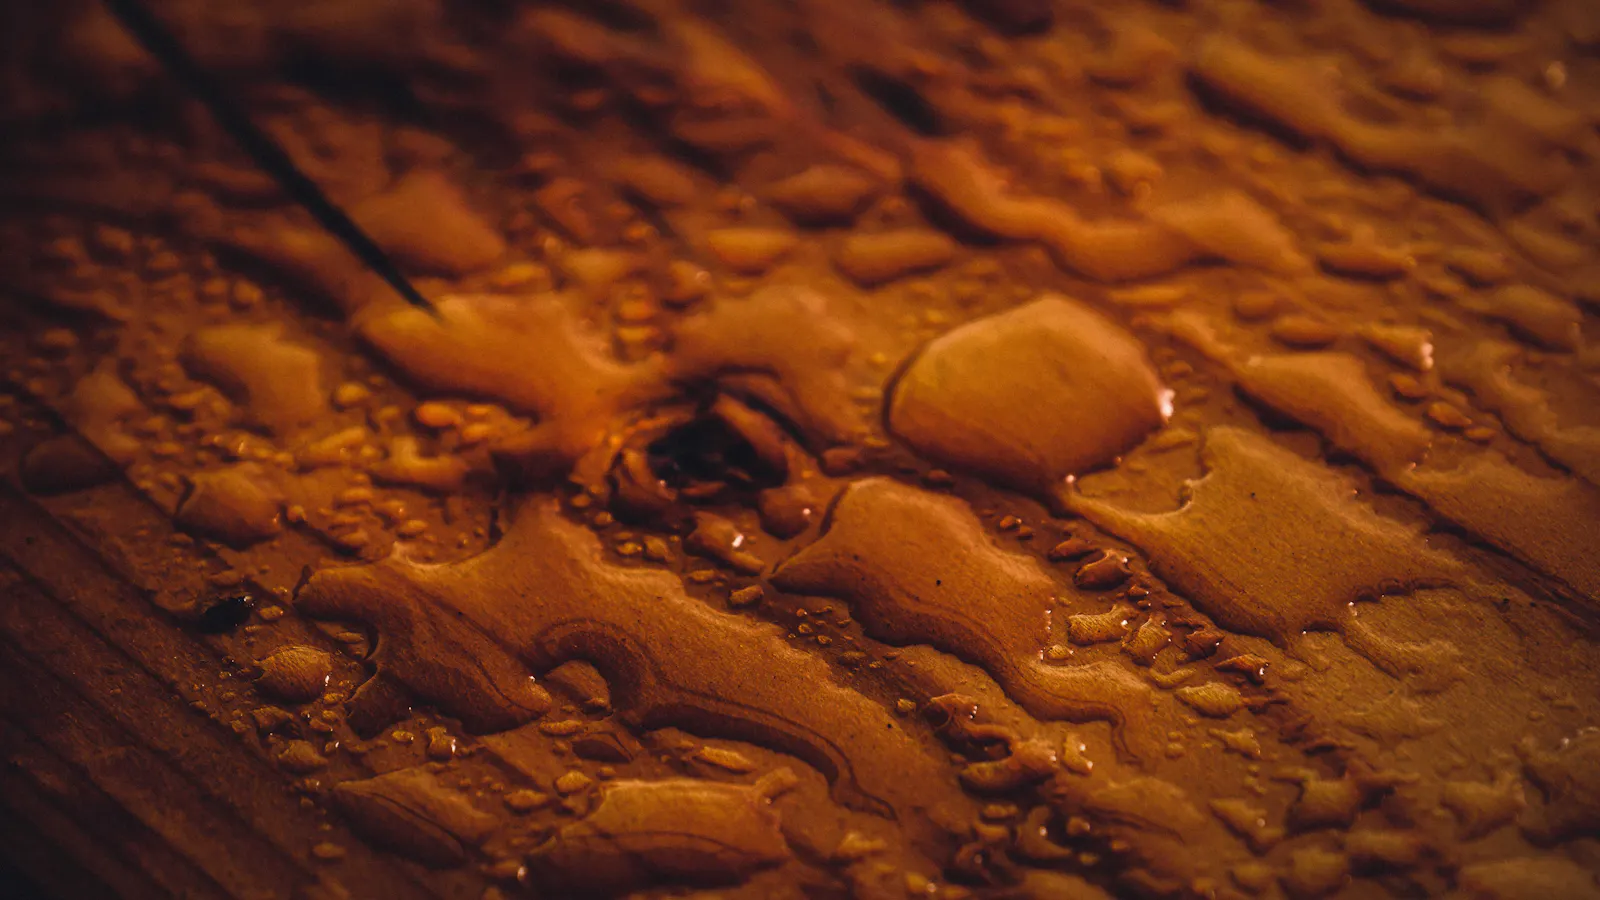
Step 7: Let the wood dry THOROUGHLY
Dry time is the single biggest mistake DIYers make. Wet wood won't absorb stain — it's like painting over wet paper.
Requirements:
- Minimum 48 hours in moderate weather
- 72+ hours in humid conditions
- Target: 15% moisture content or less
- Test with a moisture meter ($25 investment, pays for itself)
- Check BOTH the surface and the underside (underside dries slower)
Don't eyeball "it looks dry." Wood can feel dry on the surface while the core is still saturated. Stain applied to damp wood bubbles within weeks.
Common mistakes
- Using chlorine bleach instead of oxygen bleach — kills wood fibres
- Too much pressure — fuzzes the wood surface, uneven stain
- Skipping the brightener — cedar stains unevenly
- Not waiting for dry — stain peels in months
- Staining during humid weather — stain takes too long to cure, collects dust and bugs
- Staining on a hot day — stain dries too fast, doesn't penetrate
- Using the wrong pressure washer tip — narrow nozzles shred wood
After prep — picking stain
This is a separate topic, but quickly:
- Semi-transparent stains: show wood grain, last 2–3 years, easy to renew
- Solid stains: hide wood grain, last 4–5 years, require sanding before re-stain
- Water-based: easier cleanup, lower VOC, slightly shorter life
- Oil-based: deeper penetration, longer life, stronger VOC
Apply per manufacturer directions — usually two coats with a brush or roller, backbrushing to ensure even penetration.
When to hire it out
DIY is reasonable for a standard 300 sq ft deck if you're comfortable with pressure washing and a couple of weekends.
Hire a professional if:
- You've had stain fail before (prep problem usually)
- Cedar or redwood with significant weathering (needs brightener expertise)
- Large deck (over 500 sq ft)
- Multiple elevations or complex railing systems
- You don't own a pressure washer and moisture meter
Professional deck prep in the GTA: $279–$449 depending on size. Staining typically $3–$5 per sq ft as a separate service (done by deck specialists).
Bottom line
Good prep makes good staining last. A half-day of proper cleaning is the difference between stain that holds for 4 years and stain that peels in 6 months. The products you need cost under $100. The effort is mostly patience — dwell time, rinse thoroughly, wait for dry.
Quick answers.
Not recommended. Chlorine bleach kills wood fibres and destroys the lignin that gives wood its color and strength. Oxygen bleach (sodium percarbonate) is the correct cleaner for wood decks and doesn't damage the fibres.
Strongly recommended if the deck has any old finish, weathering, mill-glaze, or organic staining. Pressure washing opens the wood pores for stain absorption. Without it, stain sits on top and peels within a year.
Minimum 48 hours in dry weather, 72+ hours in humid weather. Use a moisture meter — wood must be at 15% moisture or less before staining. Skipping dry time is the #1 cause of stain failure.